Tuesday, June 30, 2015

Fermentation Temperature Management

Last Friday Chris and I were at the Ballast Point Brew Mart to pick up the ingredients for our next brew, a copy of d'Achouffe's McChouffe.  While we were there, one of the guys who works there, Ryan let us know that he was going to be holding an info session at 6pm to discuss temperature control.  This is a topic that's been an interest for a while.

Chris and I have long considered purchasing a conical fermenter.  The challenge though has been how we control temperature with a setup like that.  It's a real challenge this time of year in San Diego.  As we get closer to the 80 to 90 degree days on the coast, it's very difficult to keep fermentation temperatures down.

Ryan's strong push was that we instead consider setting up a chest freezer with a digital temperature control.  With the July 4th sales at Sears, I decided to go for it and purchase a 15 cubic foot chest freezer.  Picked it and a Johnson A419 temperature control up yesterday and it's amazing.  We'd bought a couple thermowell stoppers on Friday night.  This has been super simple.  Put the thermowell stopper in to the carboy, fill the well with sanitizer, drop the probe in, set the setpoint on the controller to 70, mount the controller on the wall and watch magic happen.

I can't describe how more relaxed I am about these fermentations now.  I used to be always having to check on these things, move the fermenters around the house to try to manage temperature, etc.

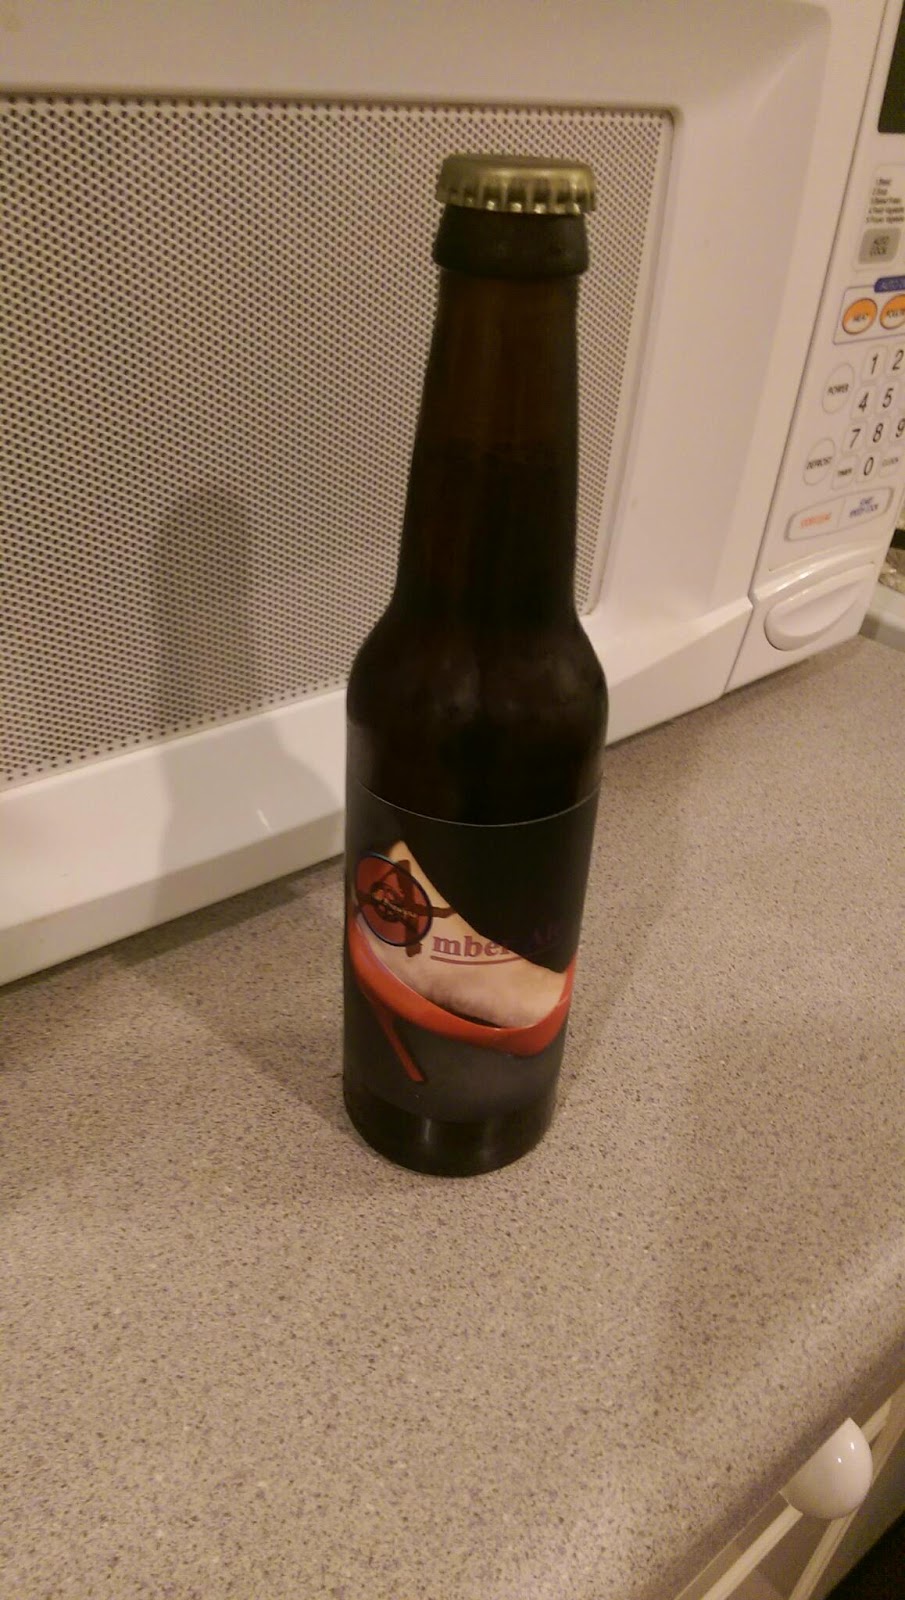
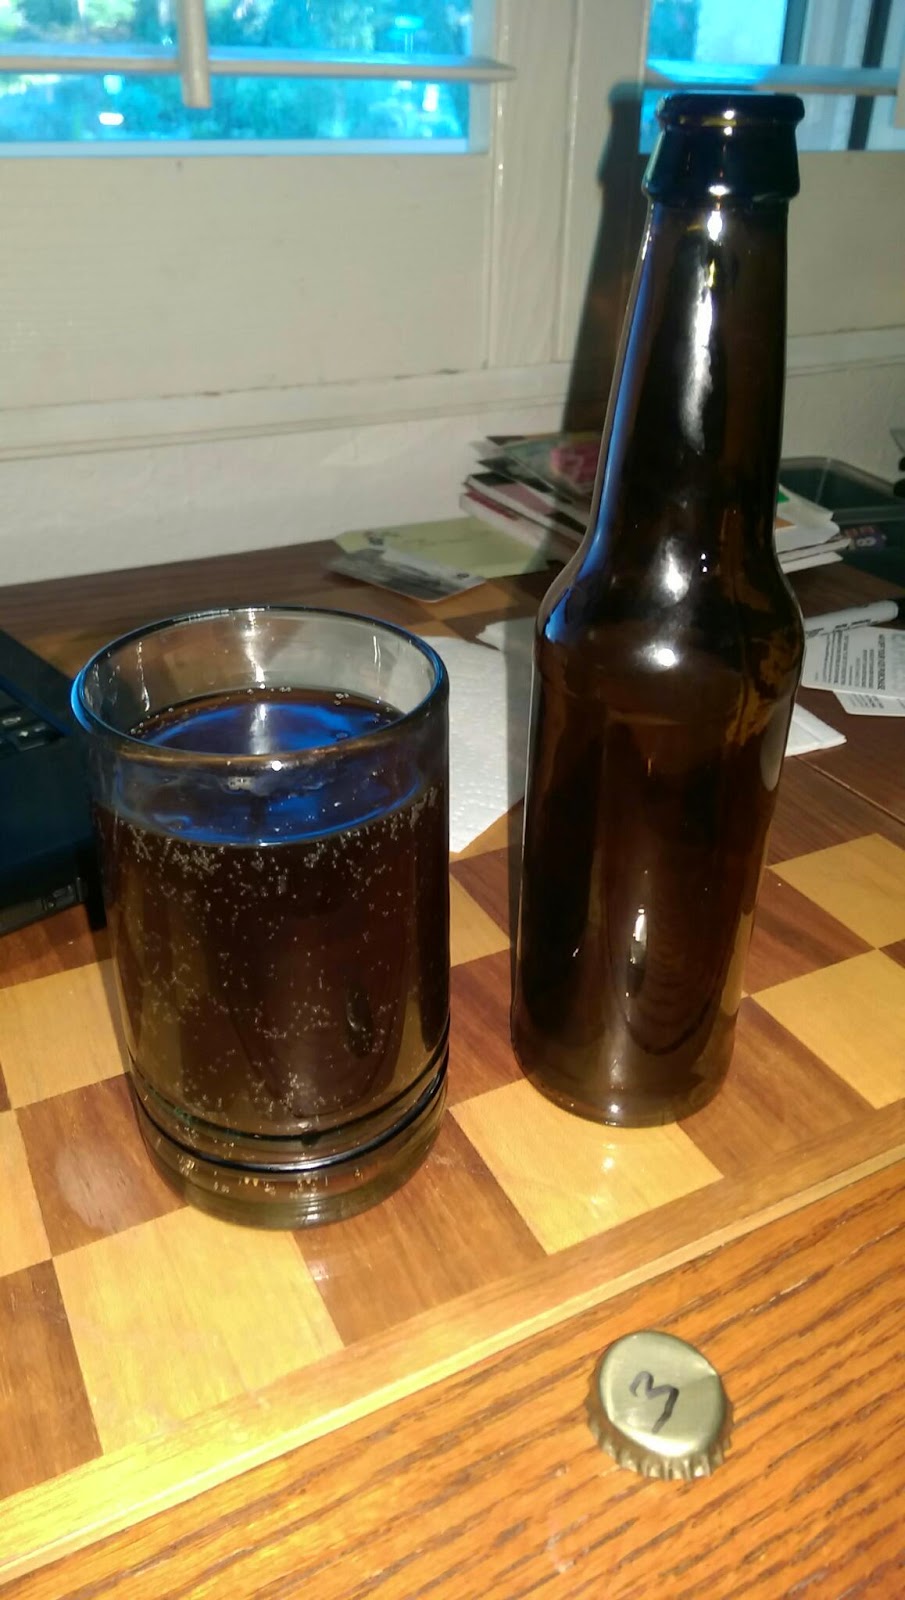
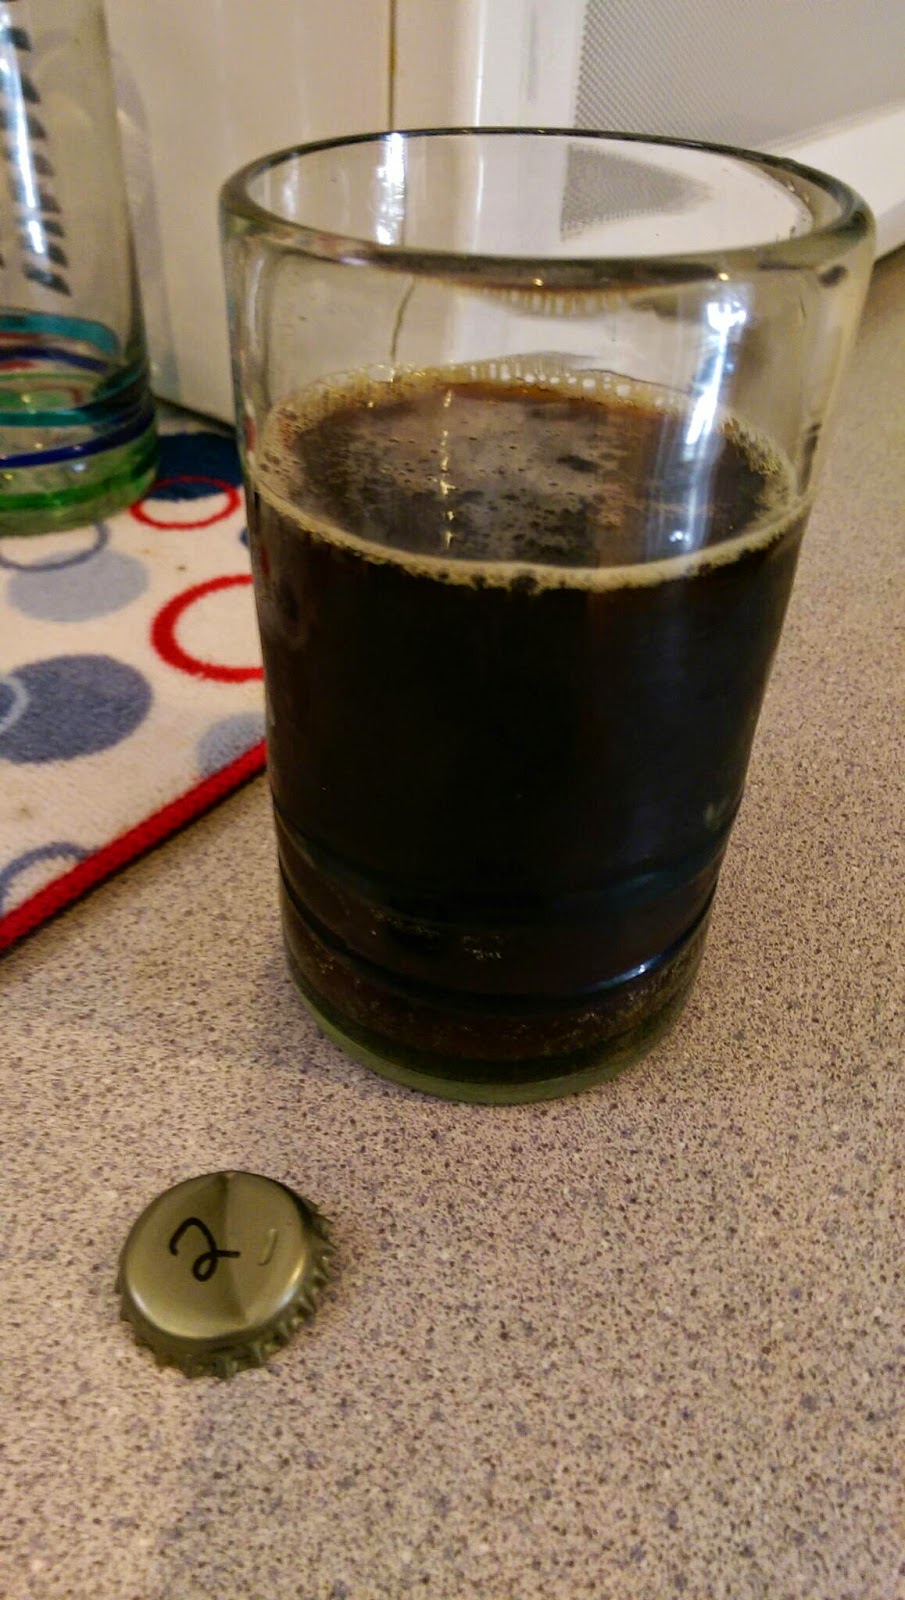
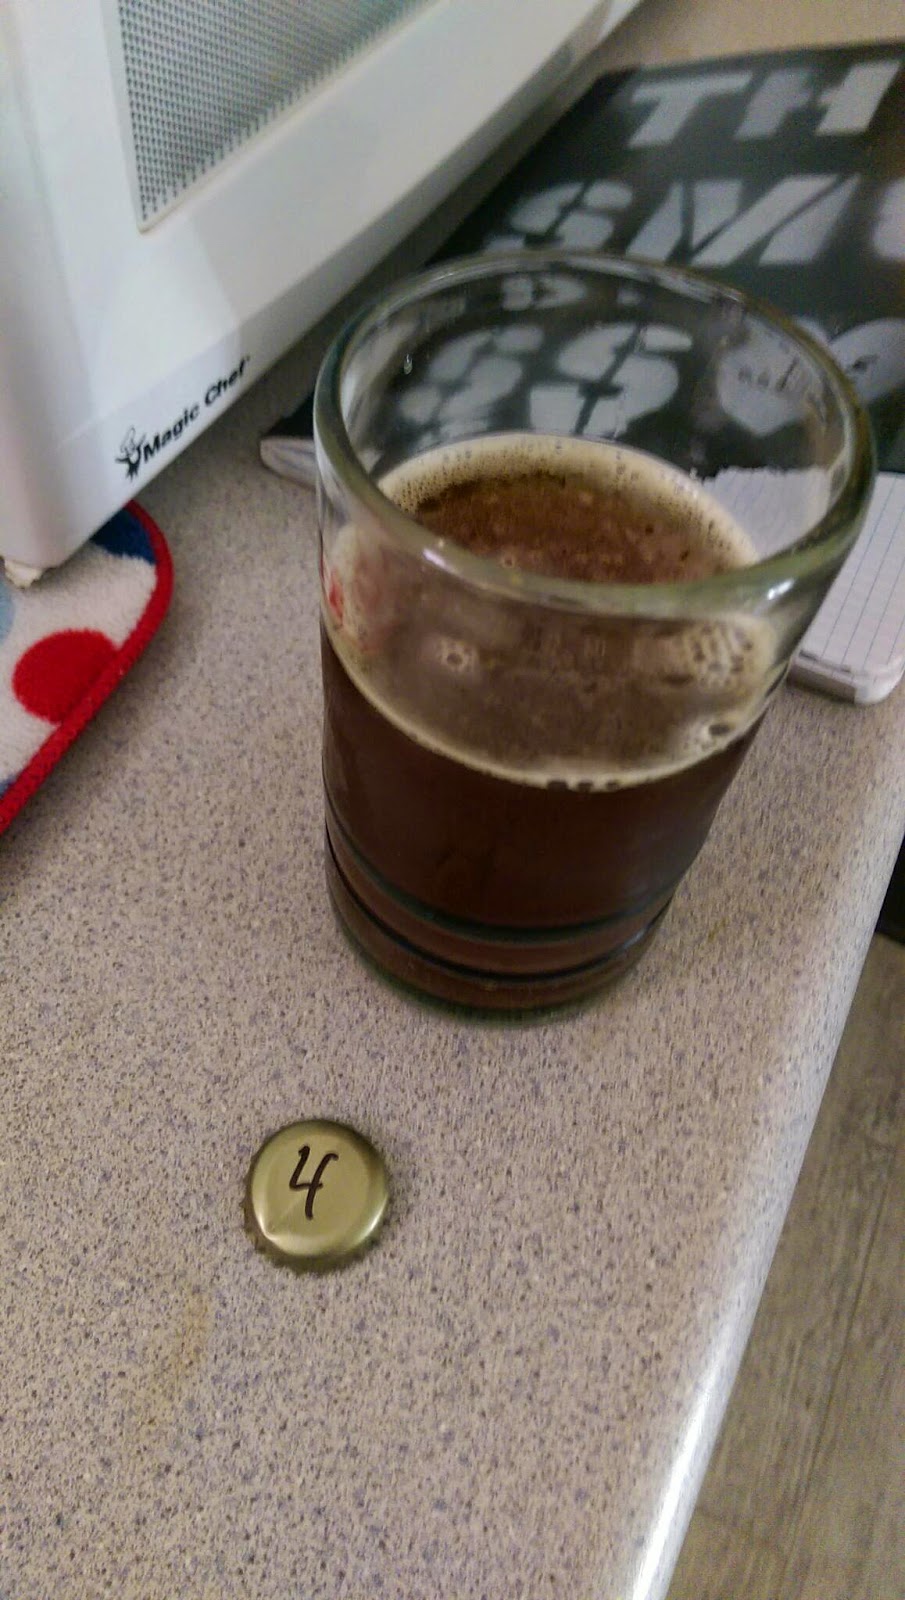
Here's the setup:


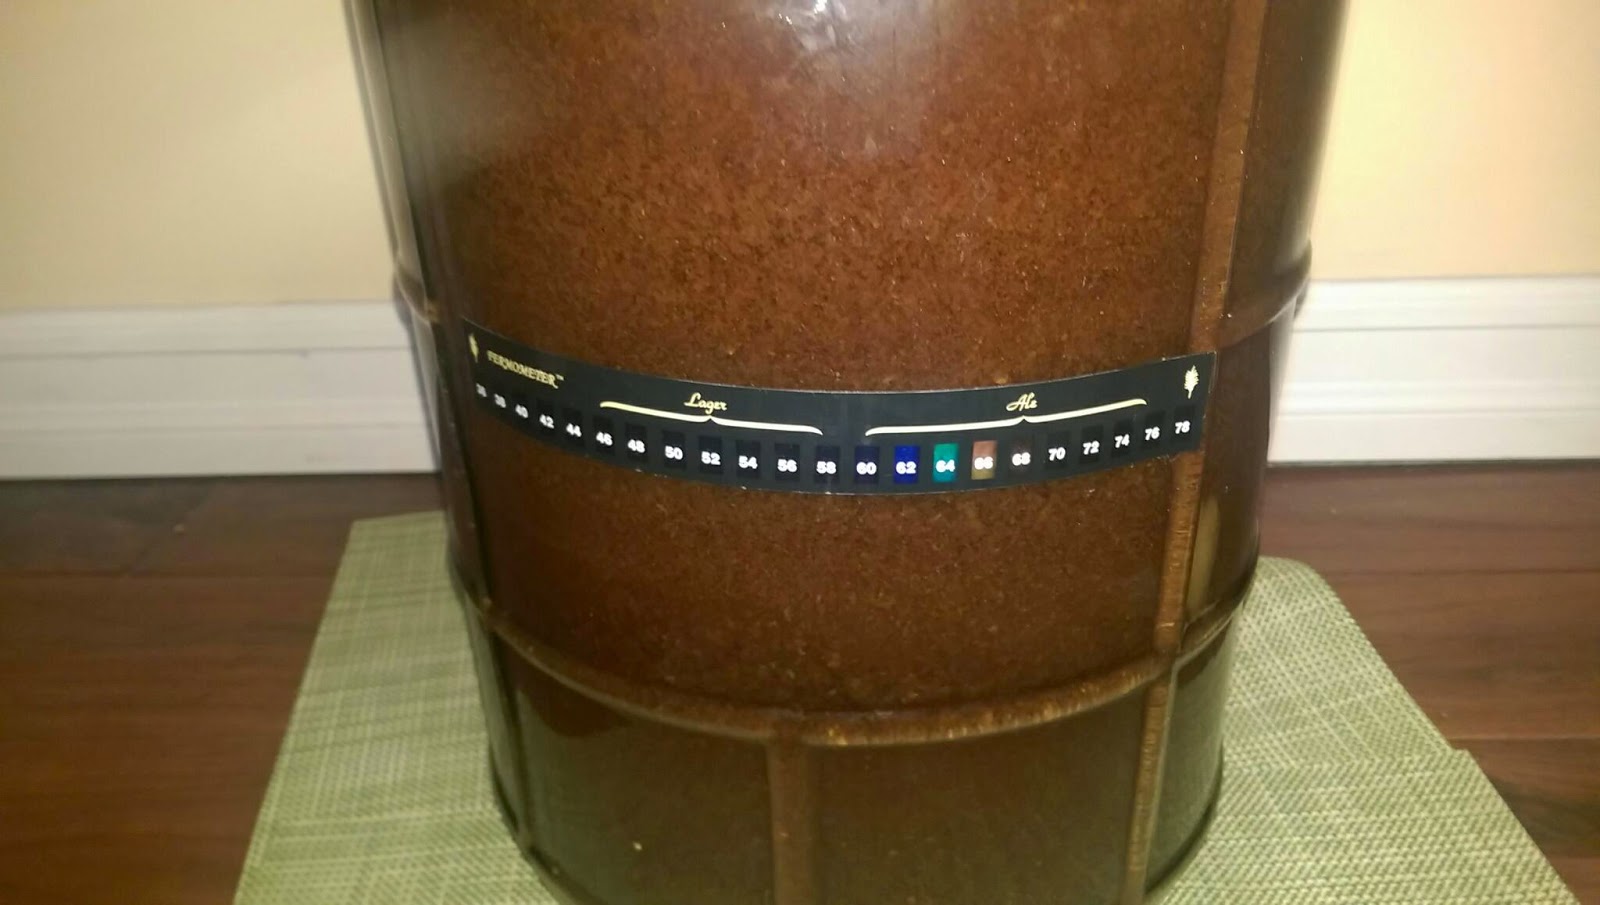
As you can see here, when I first took the fermenter out of the closet, it was 74.  Not crazy warm, but warmer than we'd like:


I don't have a shot of the temperature after a couple hours in the freezer, but take my word for it that it was bang on 68.  Same thing this morning.

Monday, June 29, 2015

First True All-Grain

Sunday June 28th was our first ever all-grain brew with a hot reservoir, mash tun and brew kettle.  We've been doing brew-in-a-bag the past few brews and it's generally worked well, but has also provided some challenges.  Namely:

1. The brew bag is so heavy that when it presses against the Mega Pot's thermometer, it skews the temperature readings.  So it's very, very difficult to manage the mash temperature.
2. Getting the brew bag out of the Mega Pot without ripping the thermometer or valve apart is real tough.  I've already put a hole in one brew bag.
3. The mass of a brew bag with wet grains is crazy.  I built a stand that we could clip the brew bag to, which helped considerably.  However, it's still a royal pain in the ass.

I purchased an additional kettle to give us what we needed to make the all grain thing go for real.  I have to say, it went very, very smoothly the first time out.  I built a wood stand to hold the mash tun during sparging.  This gives us everything we need to be able to do a gravity based sparge.  The water reservoir remains on the stove top.  The mash tun is placed on the stand.  Finally, the kettle sits on the floor.  Using the valves, we're able to use gravity to move liquid through the process and get it all down into the kettle.  Then all we need to do is raise the kettle to the stove and we're in great shape.

This time out we brewed what is supposed to be close to Brasserie d'Achouffe's McChouffe (http://www.beeradvocate.com/beer/profile/321/1581/).  This is the recipe

As far as the all grain brew goes, I personally enjoyed it a lot more than brew in a bag.  Less manual labor for sure.  The only negative for me is the time required.  We're now talking about a 5 hour event when we take prep, brewing, and cooling in to account.  The good news is that we really seem to be getting somewhere with our brewing.  Our equipment is getting dialed in and so is our process/technique.

Monday, May 4, 2015

Moving to All Grain

After brewing a variety of beers using partial mash (malt extract with some steeping grains), Chris and I have taken the plunge with all grain brewing.  We just wrapped up our second all grain brew, an Amber Ale.

We're using the brew in a bag method of doing this, which has so far been pretty smooth.  Generally, this is the same as a partial mash brewing, the differences being that you start with a lot more grains (12 pounds for an amber versus 2.5 with partial mash), don't use malt extract, mash your grains for a longer time, and do some more rigorous sparging.

Here's a shot of our first all grain, a Belgian Saison:


Personally I'm really looking forward to this style of brewing.  One can easily see how brewing this way gives you an infinite number of variations in your grain bill.  With All Grain you've got the ability to use 10s of different grains in all kinds of proportions.  Whereas, with partial mash, there are only 4 or 5 different types of extract out there, so you're pretty limited with where you can go.

The Amber Ale is one that went very well for us as an extract brew.  It was the first brew we ever did and we liked it so much we did it a second time.  So, it'll be fun to compare the extract versus all grain and see which we like better.

Thursday, February 19, 2015

Batch 7 - Belgian Quad Version 2

Our seventh brew is going to be a second run at the Double/Quad we made as our second batch.

A few things we're doing differently and hopefully better this time out:

1. We'll be using more yeast.  Last time out we had a ton of fermentable sugar at the start of fermentation.  That never seemed to get fully broken down.  This time we're using two vials of yeast.  Hopefully this gives us some more horsepower in the fermenter.
2. We're going to try a different yeast strain.  First time out we used White Labs Monastery Ale Yeast (WLP500).  This time out we're using their Flemish Ale Yeast (WLP 665), which is supposed to bring some more stone fruit flavors along with it.
3. Better mixing of our dextrose during our bottling process.  Last time out we didn't mix things too well, which resulted in some inconsistency in fermentation.
4. Longer bottle conditioning.  Something closer to 5 weeks this time out, versus the 2 to 3 we observed the first time.

As a progress update, here's the fermenter from the evening of day 2:


This is a much less aggressive yeast for sure.  In previous brews we've had some very aggressive fermentations.  To the point that we blew the airlock off the top of one of them (that's why we've gone to the simplicity of a stopper, tube, and growler of sanitized water of late).   Typically we've been doing some aggressive aeration before pitching our yeast and that's been more than enough to get the yeast to explode in to action.  This time out, fermentation was very slow to start.  I took the extra steps of giving the wort a round of aggressive swirling each morning and evening, that seemed to help, but still didn't kick things off.  It was only after a strong swirl on the evening of day 2, that we finally saw the sort of aggressiveness that we are beginning to see.

We're starting with an original gravity of 1.092 on this one, so we've got a long way to go.

Sunday, January 25, 2015

Brew 2 - Belgian Quad

This was supposed to be a Belgian Double.  However, I would say it's got the strength of a Quadruple.  Maybe we used more malt extract than we thought, or maybe things were just more concentrated.  Not too sure, but I'm going to call this one a Quad:

j


Brew Date: 11/28/2014
Bottling Date: 12/13/2014

Steeping Grains:

1 lb Caravienne
0.5 lb Special B1

Fermentables:

9.5 lb Pale Dried Malt Extract
1 lb Dark Candi Sugar

Hop Additions:

60 mins - 1/2 oz Northern Brewer
5 mins - 1 oz Syrian Golding

Yeast:

White Labs Trappist Ale Yeast

Sunday, December 14, 2014

Brew 1 - Amber Ale is done!

Batch one is brewed and bottled. 


Yesterday, after 2 weeks of conditioning in the bottle, Chris and I opened our first bottle.  Things turned out real well.  It has a little more of a hint of vanilla than I had expected, but over all it's great.  Quite honestly, I'd be very proud to serve this beer to anyone.

Here's the recipe we followed -Ballast Point's American Amber Ale recipe:

Steeping Grains:

0.75 lb Crystal Malt 60L
0.5 lb Caramunich
0.5 lb Carapils

Fermentables:

6 lb Light Dried Malt Extract

Hop Additions:

60 mins - 1 oz Northern Brewer
5 mins - 1 oz Northern Brewer

Yeast:

White Labs California Ale Yeast - WLP001

Being our first try, I'm really impressed with how we were able to create a good tasting, non-skunky, evenly carbonated beer.

Friday, November 28, 2014

Recirculating Wort Chiller Works Awesome

Chris and I fired up our second brew this evening, a Belgian Double.

This was our first chance to try the recirculating chiller, which worked great.  With the rush to get the kettle off of the stove and next to the sink we didn't take a time mark to know how fast it exactly cooled, but it seemed like about 10 minutes to get down to 75F.  We could have finished faster if we'd added salt and ice right at the start of the cool.  Plus doing a little more mixing of the wort to get the hot stuff on to the coils would have helped too.

Regardless, here's the chiller in action and a brief overview:


If you want to make your own version of one of these, here's the parts list (note that I also included the Home Depot sku (except for the pump and power adapter):

Qty - Description - SKU
1 - 20 foot 3/8" ID soft copper tubing - 685768328575
1 - 3/4 inch (OD) vinyl tubing - sku 098268038484
4 - ss clamps - 078575170657
1 - pack of heat shrink tubing - 032076077594
2 - brass connectors 1/2" compression to 1/2" male iron pipe - 042805445914
4 - brass barbs 1/2" barb to 1/2" female iron pipe - 042805446157

And here's how it goes together:

1. Put heat shrink over each of the pump wires, solder each pump wire to the corresponding adapter wire, pull the tubing over the joint, and shrink the tubing over the joint.
2. Attach one compression fitting to each end of the copper pipe.
3. Shape your copper tubing as necessary to fit your kettle.  I tightened the coils a bit and gently bent one end up so that it exited at the same side of the coil as the other. 
3. Cut 3 appropriately sized sections of the vinyl tubing.
4. Attach the 4 metal barbs to the vinyl tubing.  Your return from the copper and the uptake from the ice bath each get one barb.  The line from the pump, in to the copper pipe gets one barb on each end.  Use the ss clamps to ensure you've got a good seal between the vinyl and the barbs.
5. Apply Teflon tape to each of your male threads.
6. Attach the tubing to the pump and copper. 
7. I also chose to mount my pump in a piece of 2x4.  Regardless of what you chose to do, just make sure you consult the pump directions before you mount it anywhere.  And make sure you prime the pump by filling the uptake tube before you turn on the pump.

Batch one bottled

About $9 a beer so far

Batch Two

Recirculating Wort Chiller

Getting in to the brewing game, one of the things that becomes instantly apparent is that quickly cooling your wort in a sanitary manner is one of the most important problems to be solved.

When you look around the internet there seems to be a few ways of accomplishing this:

1. Put your brew kettle in an ice bath  
2. Insert an immersion water chiller in to your kettle and run tap water through it
3. Utilize some sort of counterflow chiller where you pass your wort through an inner copper coil and then have a tube of tap water running in the opposite direction outside it

Looking at these ideas, they all have what seem to be weaknesses that can't be easily mitigated.

From the ice bath perspective, it's a lot of time, physical work, and potential for contamination.   You've got a hot kettle that you need to swirl around in unsanitary water for 15 or so minutes, constantly adding ice.  It's a lot of work, plus takes time.  All of that hot wort is creating impurities for your beer.

The immersion chiller seems to be the best of them all; however, still has the weakness that you need to run tap water through the copper for 15 or so minutes.  Here in San Diego this isn't so palatable.  First, our tap water isn't very cold.  More importantly we're in the middle of a long drought here and likely will be for the next 200 years.  Water is expensive and wasting it by running a tap for 15 minutes is unacceptable (at least to me). 

The counterflow chiller idea looks really cool, but when you think it through, it has the potential to be kind of a disaster.  First, you still suffer from all the water wastage of the immersion chiller.  Next, it's a lot more work to build one of these than an immersion chiller.  Even worse, you're running your sugary wort through the inside of a copper pipe.  A pipe that you have no way to properly clean or even know what's inside it.  Plus you need to have an extra supply of boiling water and a pump to sanitize the inside of the chiller prior to each use.  All in all, the counter flow chiller looks really cool, but seems to have a lot of negatives.

My idea is that we can do this a little smarter and with a lot less water.  Thus, the recirculating copper chiller.

The idea here is to effectively add a pump to an immersion chiller such that we can pump ice cold water through the copper coil.  This will allow us to pump ice water in to our copper.  At first we'll drain the very hot output in to a bucket so that we can save it for the avocado tree (which is always thirsty).  Then as the output gets cooler, we can simply recirculate it through the ice bath, saving a ton of water.

So, I've built this device (pictured below):


The pump that's mounted in the 2x4 will pull water out of a ice bath, in this case the kitchen sink, in to the copper coil, and through the output end back in to the chiller.  The copper will be submerged in the wort 10 minutes prior to the end of the boil so that's sanitary.  Once we want to chill, we simply start pumping our cold water in to the copper.  Note that this device hasn't yet been tested in a brew (we'll be doing that later today).  It has been tested for leaks, pump speed, etc and is looking like it's ready for action.  Once it's been proved out I'll add a video and a parts list so that you can build one of your own.

Brew 1 - Amber Ale

Chris and I consider ourselves to be well accomplished on the demand side of the brewing process.

Rather than taking pot shots at the brewing skills of others, we've decided to take the plunge and start brewing for ourselves.  I can be fairly certain that after going through the pains of this process, I'll never be so critical of the beer of others again.

For our first brew we headed down to the Ballast Point Home Brew Mart and picked up their starter kit #2. If you're getting started in brewing, I'd highly recommend a visit to these guys.  They're very helpful and have lots of great ingredients and equipment on hand.  Our prime purchases being a glass carboy and plastic bottling bucket.  We also got some of the basics like a racking cane, bottling tube, bottle capper, caps, and hydrometer.  Trying to keep it simple for our first brew, we chose to go with an amber ale recipe.

And so we were brewing.  Here's a video of Chris stirring our wort:


 Lessons Learned:

1. Water management is important.  Prior to starting our boil we didn't realize that we should have already boiled and chilled a few gallons of water.  This would come back to bite us when we didn't have the chilled water to top our fermenter up to 5 gallons, or to help with the final cooling of our wort.
2. Create a checklist for brews.  I also forgot to take the yeast out of the fridge the night before the brew, so we had to delay our brew start in order to give it enough time to warm to room temperature.  Having a simple checklist would have helped avoid this and the water blunder.
3. For steeping, it really is fine to simply kill the heat when you get your water to 160 degrees.  We had thought that we'd need to manage the amount of gas we gave to our water once we hit 160.  This nearly resulted in us heating our water too hot.
4. Be very attentive to your wort as it approaches boiling.  We had a minor boil over, which resulted in me having to scrub the stove top when we were done.  Not fun.